
Spiral Staircase Kit: How to Pick the Right One and Get It Installed Right
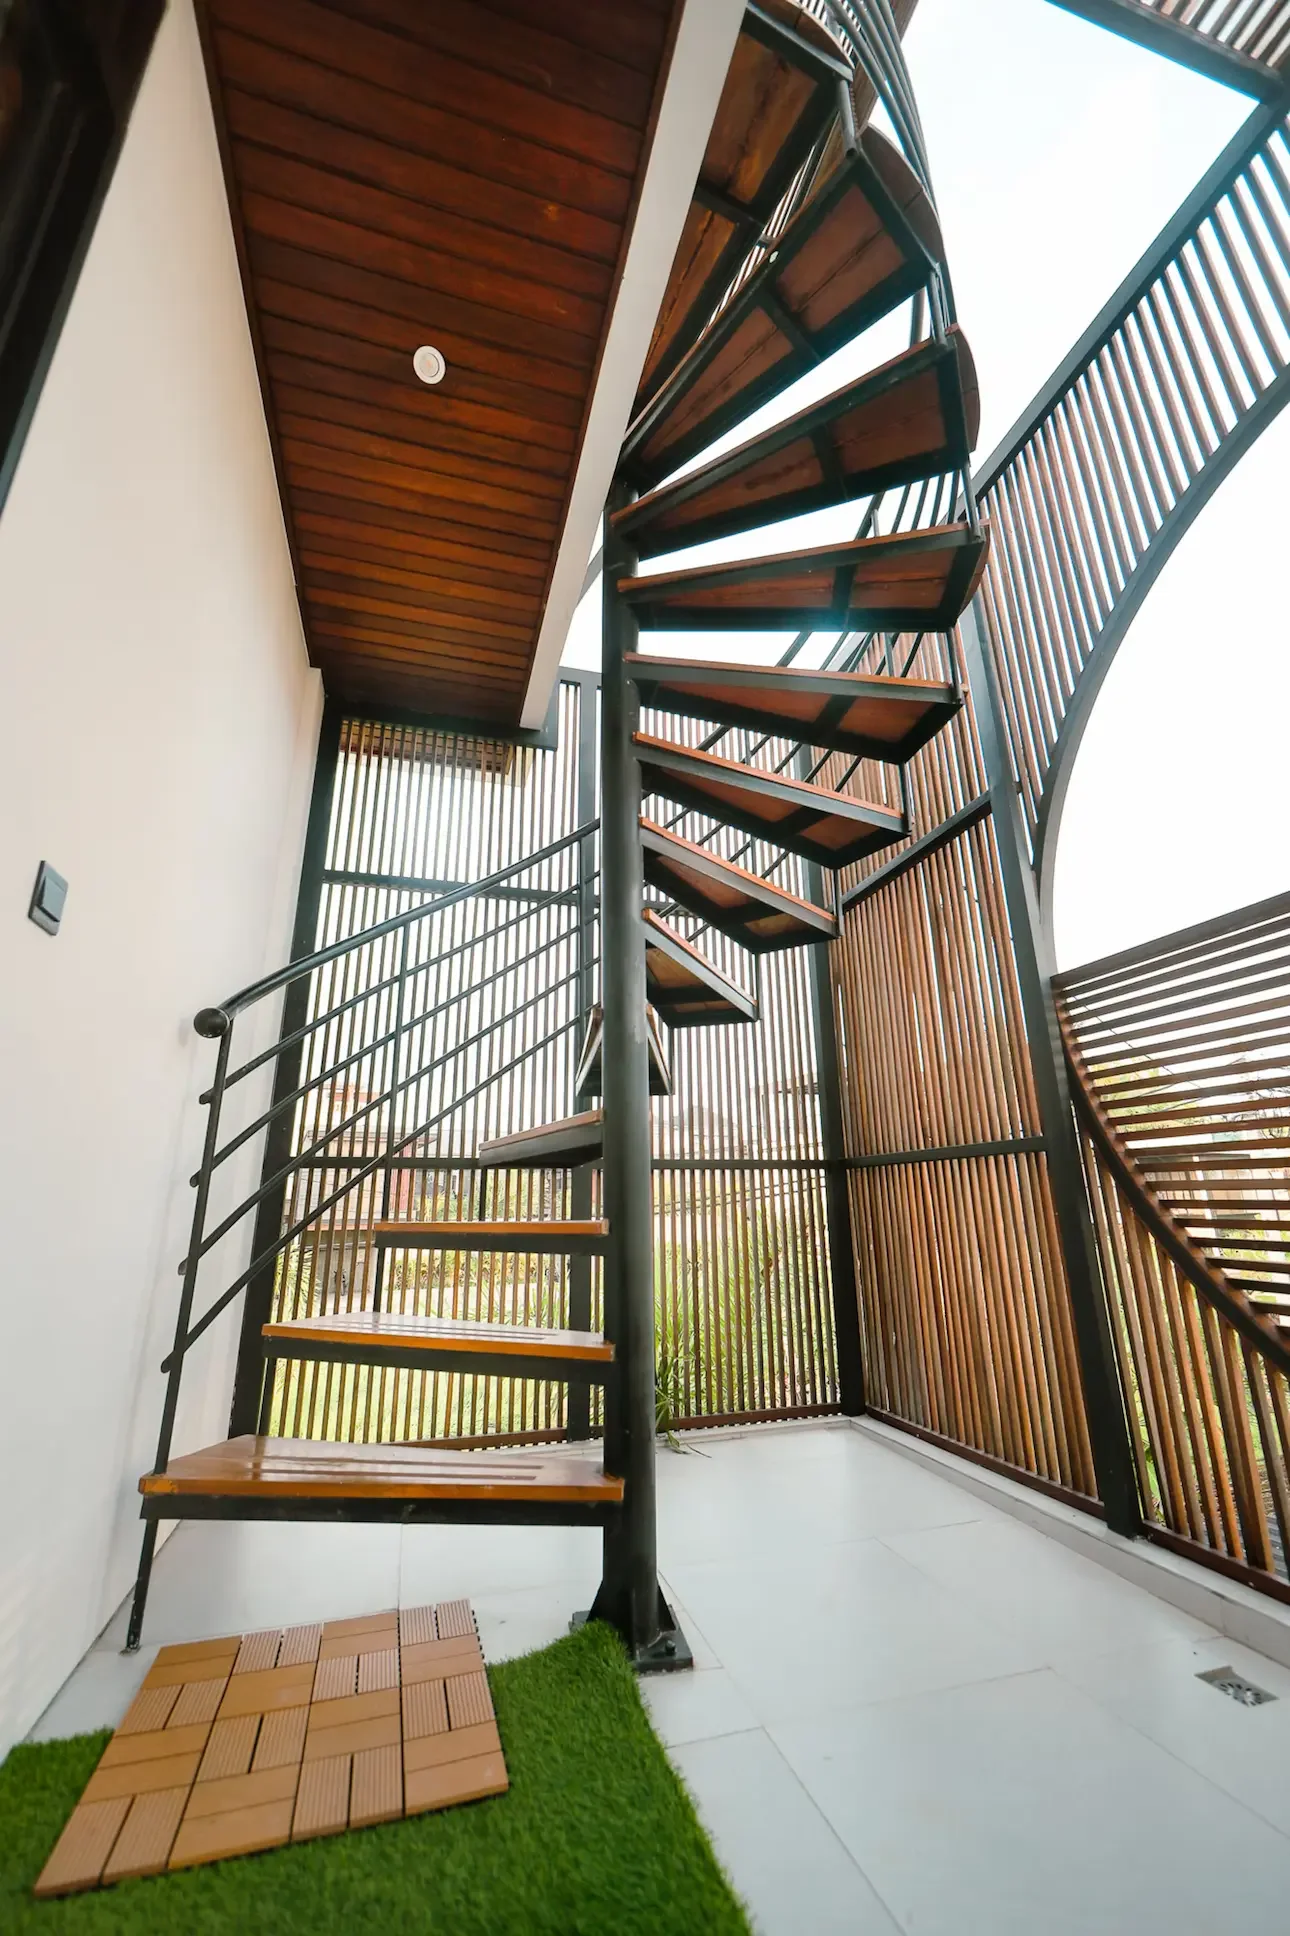
Buying a spiral staircase kit sits at a specific intersection of decisions: get the diameter wrong and it won't fit or won't be comfortable to use; get the material wrong and it won't suit your environment; get the quality wrong and you'll be dealing with a wobbly, unsatisfying staircase for years. Unlike custom fabrication, a kit puts these decisions largely in your hands before you order — which is either an advantage (more control, lower cost) or a risk (more room for mistakes), depending on how carefully you approach it.
This guide is specifically about the kit-buying process: how to measure and size correctly, what's actually in the box, what installation involves, and how to tell a quality kit from a disappointing one before you commit.
Step One: Measure Before You Shop
Getting accurate measurements before browsing kits prevents the most common and expensive mistake — ordering a kit that doesn't fit your space or doesn't meet code.
Floor-to-floor height. Measure the vertical distance from the finished floor of the lower level to the finished floor of the upper level. This determines how many steps (risers) the staircase needs and the rise per step. Most kits are designed around standard height increments and can be adjusted within a range, but confirm your specific height falls within the kit's adjustable range.
Floor opening diameter. Measure the diameter of the opening in the upper floor where the staircase will pass through. This caps the maximum staircase diameter you can use — you need the opening to accommodate not just the staircase's footprint but some working clearance around it.
Overhead clearance. Check for any obstructions — ceiling beams, ductwork, light fixtures, roof slopes — that might interfere with the staircase's full rotation. Code requires 6'6" of headroom throughout the stair's rotation; verify nothing intrudes into that envelope at any point in the spiral's path.
Landing space at top and bottom. Confirm there's adequate clear floor space at both the top and bottom of the staircase for safe entry and exit — code typically requires a landing at least as wide as the staircase itself.
Write down all four measurements before contacting any kit supplier. Reputable sellers will ask for exactly this information to confirm the right kit for your application.
Step Two: Choose the Right Diameter
Kit spiral staircases come in standard diameters, and the choice significantly affects both how much floor space the staircase consumes and how comfortable it is to use.
Table is here…
The sizing trade-off: smaller diameters save floor space but produce steeper, narrower stairs that are less comfortable for daily use and harder to move furniture or large items through. Larger diameters are more comfortable but consume proportionally more floor space at both levels.
For a primary or frequently-used staircase, don't go below 5'0" (60") if your space allows it. Reserve the smaller diameters (3'6"–4'6") for secondary access — rooftop terraces, lofts, or occasional-use connections — where the trade-off toward compactness makes more sense.
Step Three: Choose the Right Material for Your Application
Powder-coated steel is the most common kit material — strong, relatively affordable, available in many colors (matte black is currently the most popular), and suitable for interior use. For exterior applications, confirm the kit uses galvanized steel beneath the powder coat, or the finish will fail to rust within a couple of years.
Aluminum kits are lighter, inherently corrosion-resistant, and the right default choice for exterior installations — rooftop terraces, deck access, coastal environments. More expensive than steel at comparable strength.
Steel with wood treads kits combine a steel structural frame with timber tread surfaces, offering more visual warmth than all-metal designs. A popular middle-ground option for interior residential applications.
Stainless steel kits are the premium option — highest corrosion resistance, cleanest contemporary look, and correspondingly higher price. Best reserved for high-end applications or environments (coastal, high-moisture) where the extra durability genuinely matters.
Match the material to the environment: interior residential use suits powder-coated steel or steel-with-wood; exterior or high-moisture applications should default to aluminum or stainless steel regardless of the modest cost premium.
What's Actually in a Spiral Staircase Kit
Understanding the components helps you evaluate whether a kit is complete and properly specified.
Center post sections. The vertical structural spine the staircase is built around, typically arriving in sections that connect via internal sleeves or couplings.
Tread plates. The individual steps, pre-drilled for attachment to the center post and (in some designs) to the outer handrail structure. Count: confirm the kit includes enough treads for your calculated floor-to-floor height.
Balusters and outer rail structure. The vertical infill members and the framework that supports the continuous outer handrail, meeting the 4-inch sphere code rule for spacing.
Handrail sections. The continuous graspable rail along the outer edge, typically arriving in curved sections that connect to match the stair's rotation.
Landing platform/newel. The transition piece at the top of the stair connecting to the upper floor opening, and often a base plate or flange at the bottom for anchoring to the lower floor.
Hardware. Bolts, screws, anchors, and any specialty fasteners — a complete kit includes everything needed for assembly, not requiring a separate hardware purchase.
Documentation. A quality kit includes assembly instructions, and — importantly — engineering documentation or load rating information that your local building department may require for permit approval. Ask specifically whether this is included before purchasing; its absence can delay or block your permit.
Installation: What to Actually Expect
Most kit spiral staircases are engineered for installation without welding — components bolt together using the pre-drilled holes and included hardware. This is what makes them genuinely DIY-accessible for a competent do-it-yourselfer, though a second person is strongly recommended for holding components during assembly.
Typical installation sequence:
Anchor the base plate/center post to the lower floor — this is the most structurally critical connection and must be secure into solid framing or a properly rated concrete anchor.
Stack and secure center post sections, building the spiral's spine to full height.
Attach tread plates to the center post in sequence, following the kit's rotation pattern.
Install the outer baluster/rail structure section by section as treads are completed.
Secure the top landing platform to the upper floor framing — the second critical structural connection.
Install the continuous handrail sections along the completed outer structure.
Final tightening and level-check of all connections.
Realistic timeline: one to two days for a competent DIYer with the right tools and a helper. Professional installation, where used, typically takes one day and costs $1,000–$3,000 depending on complexity and region.
The two connections that matter most: the base anchor and the top landing connection. These bear the staircase's structural loads and connect it to your building's structure. Follow the manufacturer's specifications exactly here — this isn't the place to improvise, even if other steps feel flexible.
Evaluating Kit Quality Before You Buy
Price varies enormously across spiral staircase kits, and price alone doesn't reliably indicate quality. Ask these specific questions:
What gauge steel is used? Thicker gauge steel (lower gauge number) resists flex and feels solid underfoot. Ask for the specific gauge rather than accepting "heavy-duty" as a description.
What is the load rating? A quality kit publishes a specific load rating (in pounds per square foot or a live load rating) verified through engineering or testing. If a seller can't provide this, be cautious.
Does it meet IRC/IBC dimensional requirements? Confirm the kit's tread width, tread depth, riser height, and handrail specifications meet your local code — the manufacturer should state this explicitly, not leave you to verify independently.
Is engineering documentation included or available? For permit purposes, you'll likely need stamped engineering documentation or at minimum a manufacturer specification sheet. Confirm this is available before ordering.
What's the warranty? A manufacturer confident in their product offers a meaningful warranty — typically several years on structural components, sometimes longer. A vague or absent warranty is a signal to look elsewhere.
Real installation photos and reviews. Look for genuine customer photos of completed installations, not just product renders. This is as useful a quality signal for staircase kits as it is for any other manufactured product.
Spiral Staircase Kits for Container Homes and Compact Structures
Spiral staircase kits are particularly well-suited to container homes and other compact structures, where the width constraint makes a conventional straight staircase impractical. A properly sized kit — typically 4'0" to 5'0" diameter for container applications — provides code-compliant access to a second level or rooftop terrace within a footprint a straight stair couldn't achieve.
The material choice for container applications typically favors powder-coated steel to match the industrial-modern aesthetic already established by the container's structure. Prefahb's Green Package for the Model B201 includes a circular staircase specifically engineered for rooftop garden access — a demonstration of how a well-matched kit staircase integrates into a container home's overall design rather than feeling like an afterthought addition.
Explore Prefahb's container home models with integrated staircase and rooftop access solutions.